

Repairing a damaged wood dog feeder can be a rewarding DIY project that not only saves you money but also extends the life of your pet's essential accessory. As a supplier of high - quality wood dog feeders, I've witnessed firsthand the various issues that can arise with these products over time. In this blog, I'll guide you through the step - by - step process of repairing a damaged wood dog feeder.
Assessing the Damage
The first step in any repair project is to assess the extent of the damage. Common issues with wood dog feeders include scratches, dents, cracked wood, and loose joints. Take a close look at the feeder and identify all the problem areas.
- Scratches and Dents: Minor scratches and dents are often superficial and can be easily fixed. You can use fine - grit sandpaper to smooth out the surface of the scratches. For deeper dents, a technique called steam - ironing can be effective. Place a damp cloth over the dent and press a warm iron on it for a few seconds. The steam will cause the wood fibers to expand and rise, reducing the appearance of the dent.
- Cracked Wood: If you notice cracks in the wood, it's important to determine whether they are surface cracks or structural ones. Surface cracks can usually be filled with wood filler. Use a putty knife to apply the filler into the crack, making sure to smooth it out with the surface of the wood. Let the filler dry completely according to the manufacturer's instructions. Structural cracks may require more intensive repair, such as using wood glue and clamps to hold the pieces together.
- Loose Joints: Loose joints can make the feeder unstable. Check the joints closely to see if any of the glue has failed or if the screws are loose. If the glue is the problem, use a wood glue suitable for your type of wood. Apply the glue to the joint, carefully align the pieces, and use clamps to hold them in place until the glue dries. If the screws are loose, you can tighten them with a screwdriver. In some cases, you may need to replace the screws with longer or thicker ones for a more secure fit.
Gathering Your Tools and Materials
Once you've assessed the damage, you'll need to gather the necessary tools and materials. Here's a list of common items you might need:
- Tools: Fine - grit sandpaper (around 220 - 320 grit), putty knife, chisel (for more precise repairs), wood saw (if you need to replace a damaged wood piece), clamps, screwdriver, and a brush for applying finish.
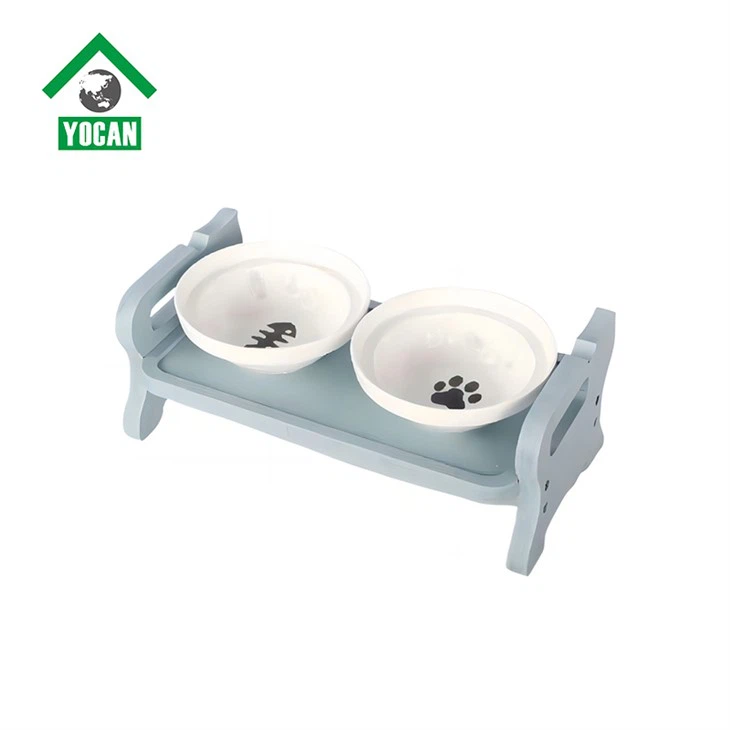
- Materials: Wood filler, wood glue, sanding sealer, and the appropriate wood finish (such as paint, stain, or varnish). If the feeder has a Wood Dog Feeder Ceramic Bowl, make sure to handle it carefully and have a replacement bowl on hand if it's damaged.
Preparing the Feeder for Repair
Before you start making the actual repairs, it's essential to prepare the feeder. First, clean the feeder thoroughly to remove any dirt, food residue, or pet hair. You can use a mild soap and water solution, then dry the feeder completely with a clean cloth.
Next, if you're planning to sand the wood, use a dust mask to protect yourself from inhaling wood dust. Start sanding the damaged areas and the surrounding areas with the fine - grit sandpaper in the direction of the wood grain. This will not only smooth out the surface but also help the wood filler or finish adhere better.
Making the Repairs
- Filling Cracks and Holes: As mentioned earlier, use the putty knife to apply wood filler to cracks and holes. Press the filler firmly into the damaged area, making sure to fill it completely. Smooth the surface of the filler with the putty knife so that it's level with the surrounding wood. Let the filler dry for the recommended time. After it's dry, sand the filled area gently to blend it in with the rest of the wood.
- Fixing Loose Joints: If you're using wood glue to fix loose joints, apply a small amount of glue to the joint surfaces. Press the pieces together firmly and use clamps to hold them in place. Wipe away any excess glue with a damp cloth. Leave the clamps on for the time specified by the glue manufacturer. Once the glue has dried, check the joint for tightness.
- Replacing Damaged Parts: In some cases, a part of the wood feeder may be too damaged to repair and need to be replaced. Use a wood saw to carefully remove the damaged piece. Make sure to measure the new piece accurately before cutting it. You can use wood glue and nails or screws to attach the new piece to the feeder.
Finishing the Repair
After making all the necessary repairs, it's time to finish the feeder. This step not only enhances the appearance of the feeder but also protects the wood from future damage.
- Applying Sanding Sealer: Before applying the final finish, it's a good idea to apply a sanding sealer. The sealer helps to seal the wood pores and makes the final finish look more even. Use a brush to apply the sealer in the direction of the wood grain. Let the sealer dry completely, and then sand it lightly with fine - grit sandpaper.
- Applying the Finish: You can choose from a variety of finishes, such as paint, stain, or varnish, depending on your preference and the style of your home. If you choose a stain, it will enhance the natural beauty of the wood while providing some protection. Varnish, on the other hand, offers a more durable and glossy finish. Apply the finish in thin, even coats using a brush, and follow the manufacturer's instructions for drying time between coats.
Maintenance Tips
To prevent future damage to your wood dog feeder, here are some maintenance tips:
- Regular Cleaning: Clean the feeder regularly to prevent the build - up of food and dirt. Use a mild soap and water solution and dry it thoroughly.
- Avoid Excess Moisture: Wood can be damaged by excess moisture. Make sure the feeder is placed in a dry area and avoid leaving water in the bowl for an extended period.
- Check Joints and Fasteners Periodically: Over time, joints may become loose and fasteners may come out. Regularly check and tighten them as needed.
As a wood dog feeder supplier, I offer a wide range of feeders, including the Double Use Wood Dog Feeder. Our products are made from high - quality wood, but like any wooden item, they may require occasional repairs. If you're interested in purchasing high - quality wood dog feeders or need more advice on repair and maintenance, don't hesitate to contact us for procurement and further discussions.
By following these steps, you can effectively repair a damaged wood dog feeder and keep it in good condition for your furry friend. Investing a little time in repair and maintenance can go a long way in ensuring that your dog's feeder remains a functional and attractive part of your home.
References
- "Woodworking for Beginners," Handyman Press
- "The Complete Guide to Wood Finishing," DIY Woodworker Magazine