


Hey there, fellow dog lovers! If you're like me, you want the best for your furry friends. One of the things that can make your dog's mealtime more enjoyable and stylish is a wood dog feeder. As a wood dog feeder supplier, I've got a lot of experience in this area, and I'm here to share with you what tools you need to make one.
Basic Tools for Woodworking
First off, let's talk about the basic tools you'll need for any woodworking project, including making a wood dog feeder.
Measuring Tools
You can't build anything accurately without proper measuring tools. A tape measure is a must - have. I usually use a 25 - foot tape measure. It's long enough to measure large pieces of wood and can be easily retracted and stored. A combination square is also very useful. It helps you measure angles and make sure your cuts are square. You can use it to mark 90 - degree angles on the wood, which is crucial for a well - built feeder.
Cutting Tools
A handsaw is a classic cutting tool. If you're on a budget or just starting out, a good quality handsaw can do the job. But for more precise and efficient cuts, a circular saw is a great option. It can cut through different thicknesses of wood quickly. You'll also need a jigsaw for making curved cuts or cutting out holes, like the ones for the food bowls.
Sanding Tools
Sanding is important to make the wood smooth and safe for your dog. A sanding block with different grits of sandpaper is a good start. Coarse grit sandpaper (around 80 - 100 grit) is used to remove rough edges and smooth out large areas. Then you can switch to finer grit sandpaper (180 - 220 grit) for a smoother finish. An electric sander can make the sanding process much faster, especially if you're working on a large feeder.
Drilling Tools
A drill is essential for making holes, whether it's for attaching parts together or for adding hardware. A cordless drill is very convenient as you can move around freely without being restricted by a cord. Make sure to have a set of drill bits in different sizes to suit your needs.
Specialized Tools for a Wood Dog Feeder
Now, let's talk about some specialized tools that are really handy when making a wood dog feeder.
Bowl - Fitting Tools
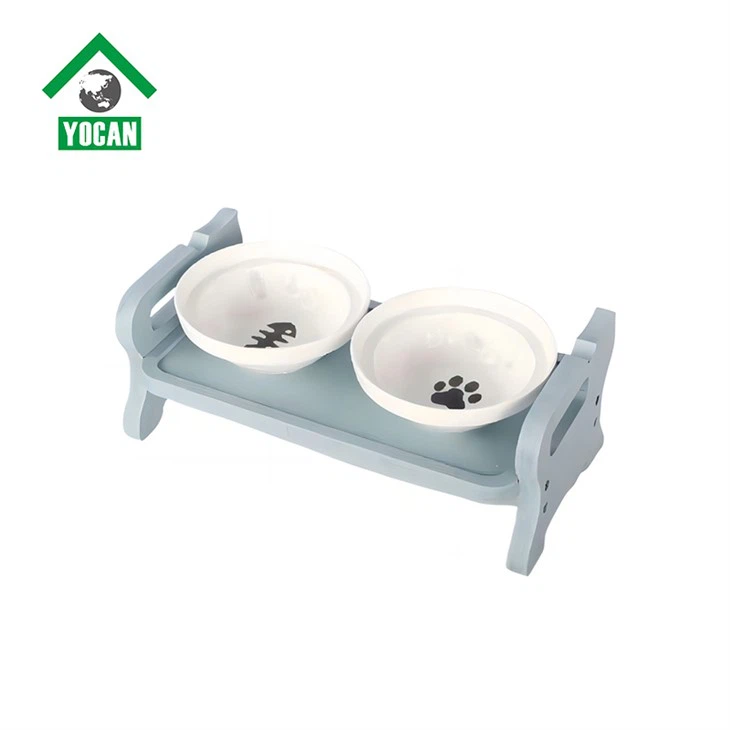
If you're planning to use a Wood Dog Feeder Ceramic Bowl, you'll need to make sure the opening in the feeder is the right size. A router can be used to create a recess for the bowl. It allows you to cut a precise and smooth groove in the wood. You'll also need a template or a guide to ensure the recess is the correct size and shape for the bowl.
Assembly Tools
To put the feeder together, you'll need some assembly tools. Screwdrivers are obvious, but you might also want to use a nail gun for a quicker assembly. A nail gun can drive nails into the wood faster and more evenly than a hammer. Glue is also an important part of the assembly process. Wood glue can be used to strengthen the joints and make the feeder more durable.
Safety Tools
Safety should always be your top priority when working with tools. Safety glasses are a must to protect your eyes from flying wood chips and debris. Ear protection is also important, especially if you're using power tools like a circular saw or an electric sander, which can be quite noisy. A dust mask will help you avoid inhaling wood dust, which can be harmful to your lungs.
Step - by - Step Tool Usage
Let's go through a simple step - by - step process of making a basic wood dog feeder and how you'll use these tools.
Step 1: Measuring and Marking
Use your tape measure and combination square to measure and mark the pieces of wood according to your design. Make sure to double - check your measurements to avoid mistakes.
Step 2: Cutting
Use your circular saw or handsaw to cut the wood pieces to the right size. If you need to make curved cuts, use a jigsaw.
Step 3: Sanding
After cutting, use your sanding tools to smooth out the edges and surfaces of the wood pieces. Start with coarse grit sandpaper and then move to finer grit for a better finish.
Step 4: Drilling and Bowl Fitting
Use your drill to make holes for any hardware or to attach parts together. If you're using a ceramic bowl, use a router to create the recess for the bowl. Make sure the bowl fits snugly.
Step 5: Assembly
Put the feeder together using screws, nails, and glue. Use your screwdriver or nail gun to attach the pieces, and apply wood glue to strengthen the joints.
Different Types of Wood Dog Feeders and Tool Requirements
There are different types of wood dog feeders, and the tool requirements might vary slightly. For example, a Double Use Wood Dog Feeder that can hold both food and water might require more precise measuring and cutting to ensure the two compartments are the right size and shape. You might also need additional tools to create a divider between the food and water sections.
Why Choose a Wood Dog Feeder
Wood dog feeders are not only functional but also add a touch of style to your home. They are more durable than plastic feeders and can last for a long time with proper care. And as a supplier, I can tell you that we use high - quality wood that is safe for your dog.
Contact Us for More Information
If you're interested in our wood dog feeders or have any questions about the tools and the making process, don't hesitate to reach out. We're here to help you make the best choice for your furry friend. Whether you want to buy a ready - made feeder or get some advice on making your own, we've got you covered.
References
- Woodworking Basics: A Guide to Tools and Techniques. By John Smith.
- The Art of Building Dog Feeders. By Sarah Johnson.