


Making a bird feeder is an easy woodworking craft you can finish in an afternoon but enjoy for many years to come. Building a simple DIY wooden bird feeder can also be a great activity for kids, so long as an adult cuts the wood pieces and supervises the process. This guide will teach you how to build a tray bird feeder out of wood. The tray design is simple and suitable for beginners, and it will appeal to a wide variety of backyard birds.
Measure and Cut the Wood
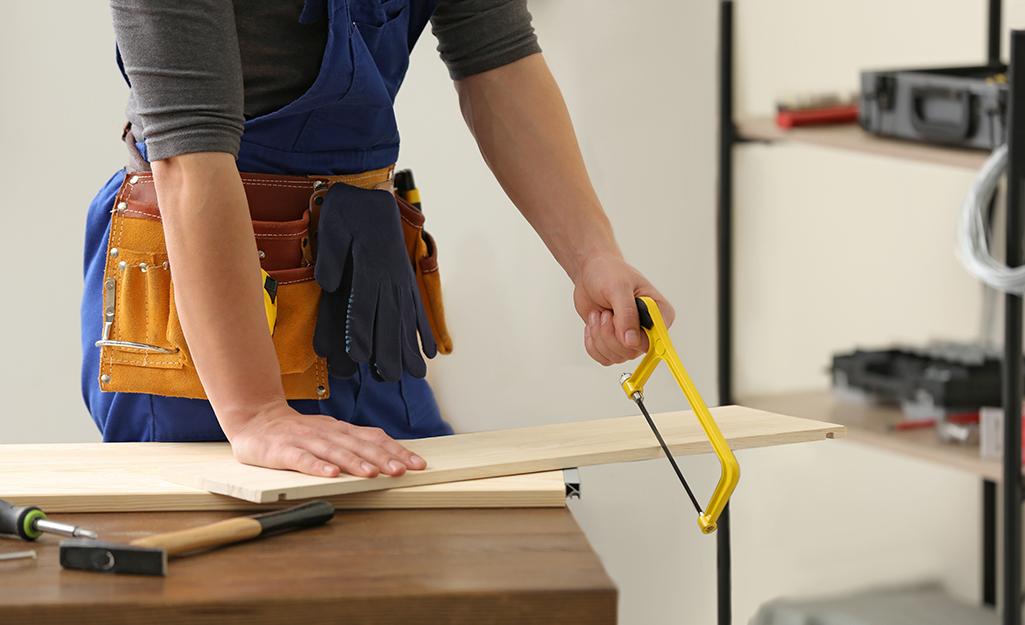
Use a ruler to measure out four 1 x 2 x 10-inch pieces on cedar planks. Make marks with a pencil or marker.
Measure and mark four 3/4 x 1 x 10-inch pieces on the cedar wood planks.
Cut the wood to size using a handsaw. You can also use a miter saw or a circular saw. Remember to take the proper safety precautions, including wearing work gloves and safety glasses.
Create a Square Frame
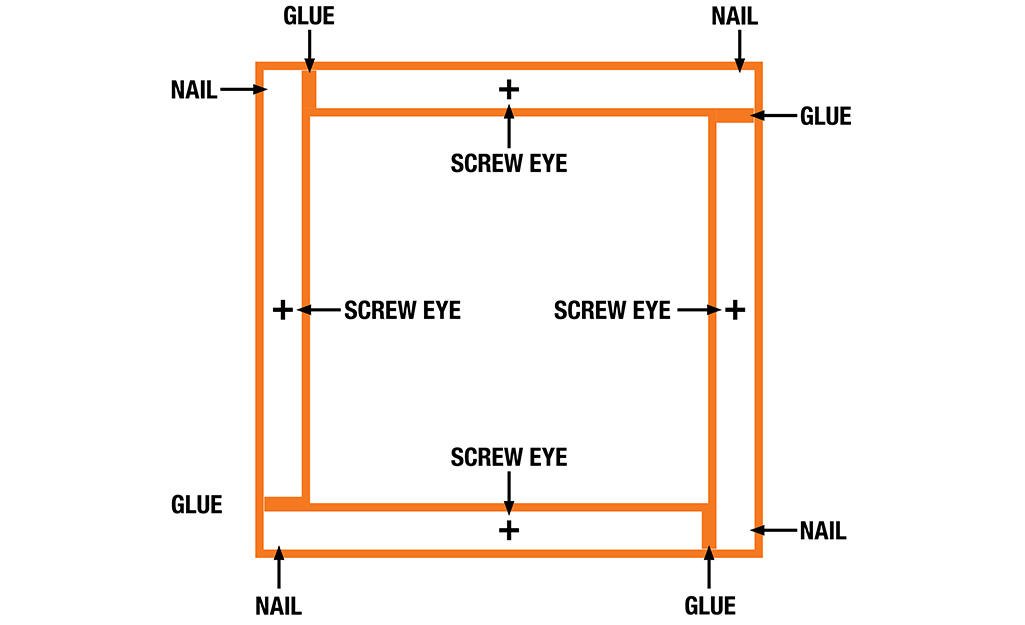
Create a square frame using the 1- x 2- x 10-inch pieces of wood. Each piece of wood should lay on its 1-inch side, with the 2-inch side pointing upward.
Use wood glue to attach the pieces in an L-shape. This will form the first half of the frame.
Create and glue a second L-shaped piece with the remaining two pieces of wood. This will create the second part of the frame.
Combine and glue the two L-shaped pieces, ensuring that the corners are flush. Wipe away any excess glue.
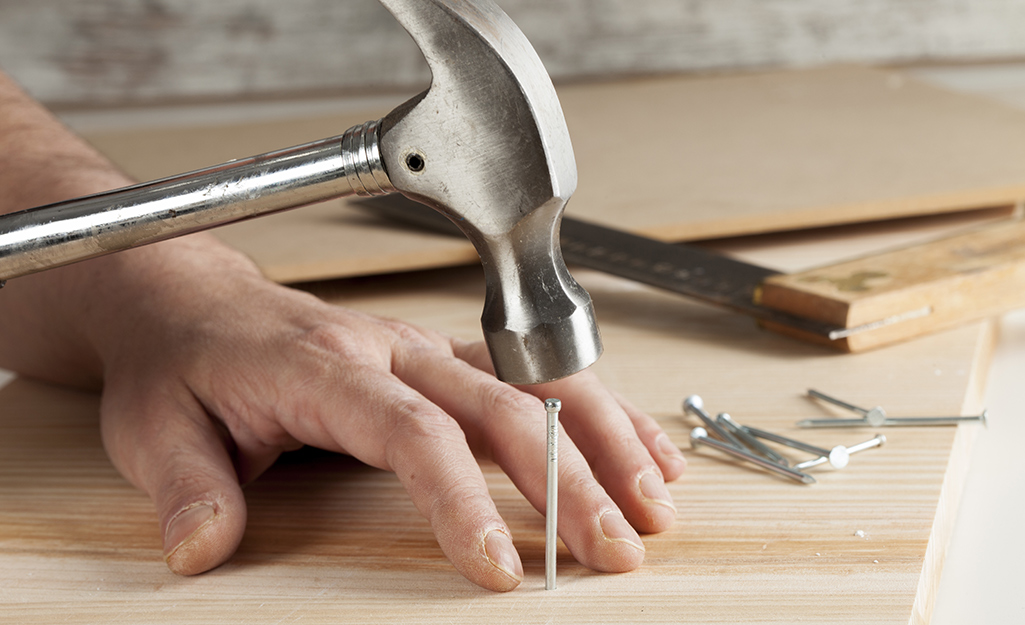
Hammer 1 1/2-inch nails into each of the corners of the frame for extra security.
Cut the Aluminum Mesh Screen
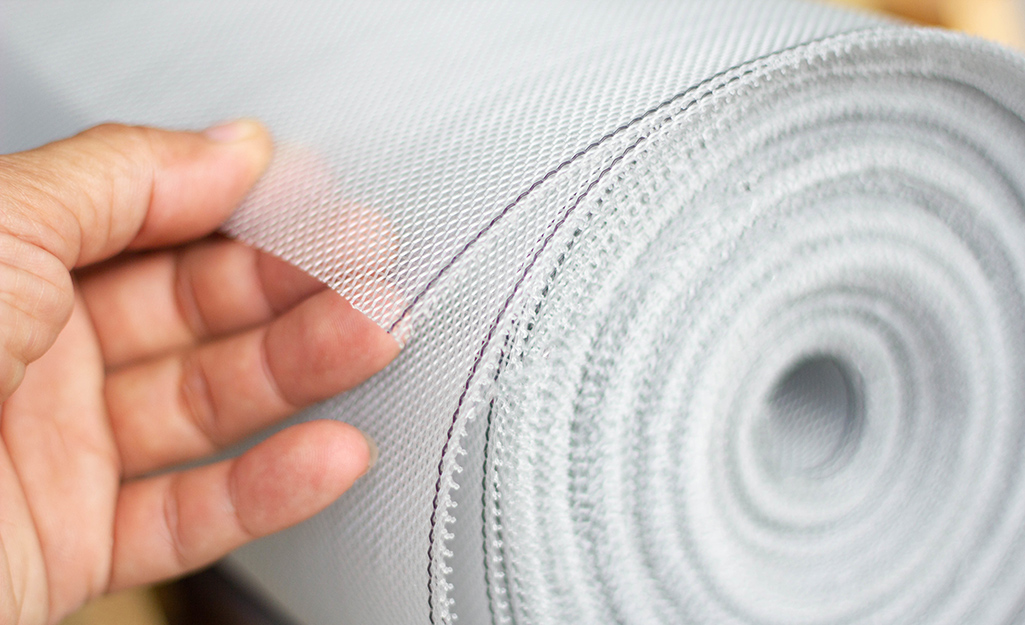
Place the wood frame on top of the aluminum screen. Trace the outside of the frame onto the screen with a permanent marker.
Cut out the traced square of aluminum screen using a sharp pair of scissors.
Lay the cut square of screen on top of the frame. This will be the bottom of the bird feeder where you place the bird seed.
Set the wood frame and screen aside.
Create a Second Square Frame
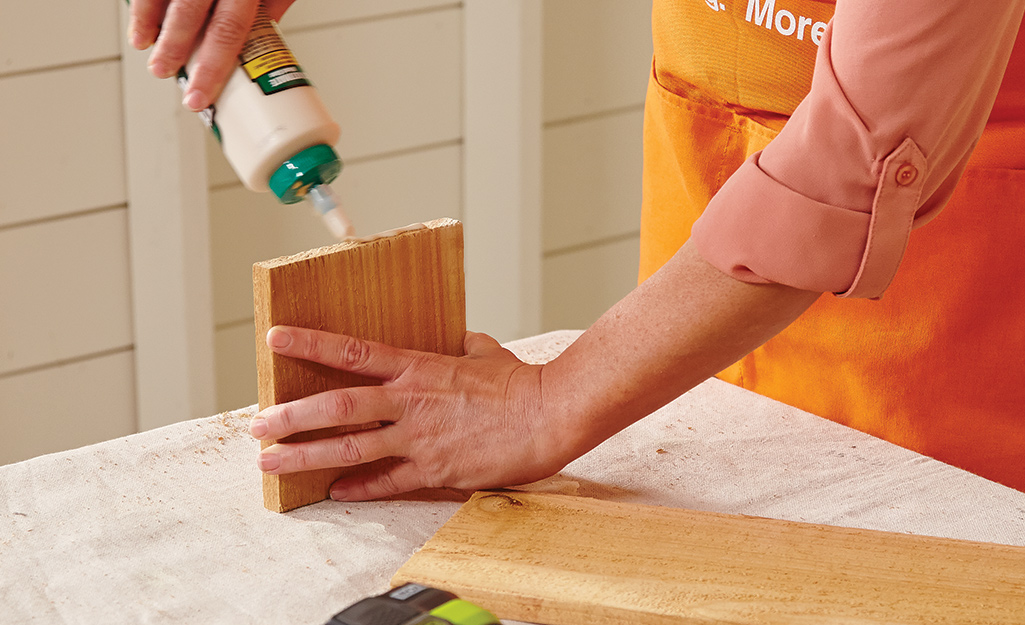
Build a second wood frame using the process from step two. This time, use the 3/4- x 1- x 10-inch pieces of wood.
Each piece of wood should lay on its 1-inch side so that the second frame is the same size as the first frame, except thinner. The sides of the two frames should be flush when stacked on top of one another.
Do not reinforce the glue with nails on this second frame.
Nail the Frames Together
Place the second frame on top of the first with the aluminum screen sandwiched between them.
Nail the second frame and screen to the first frame using four evenly spaced 1-inch nails on each side.
Flip the feeder over after hammering in the nails. The feeder should look like a square wooden tray with a screen on the bottom.
Sand and Finish the Wood (Optional)
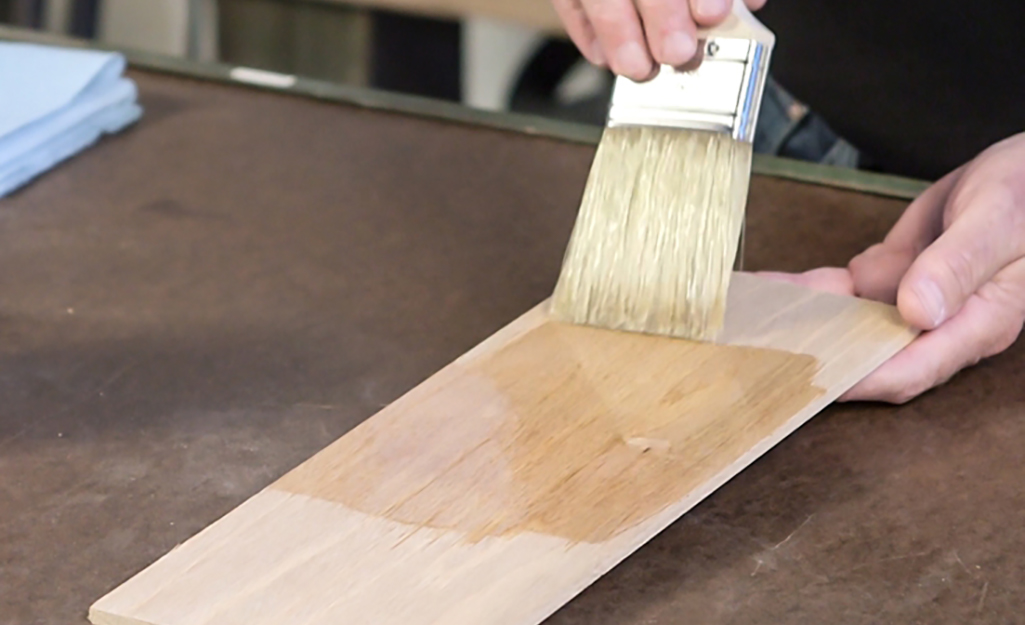
If you like the rustic look of the unfinished cedar, you can skip this step. Note, however, that the wood stain and sealer will help protect the wood from the environment.
Sand the wood with sandpaper or a sanding block until smooth.
Finish the wood with nontoxic, water-based exterior stain or paint, as desired. Apply a second coat if desired.
Allow the paint or stain to dry completely before moving on to the next step.
Add Eye Screws
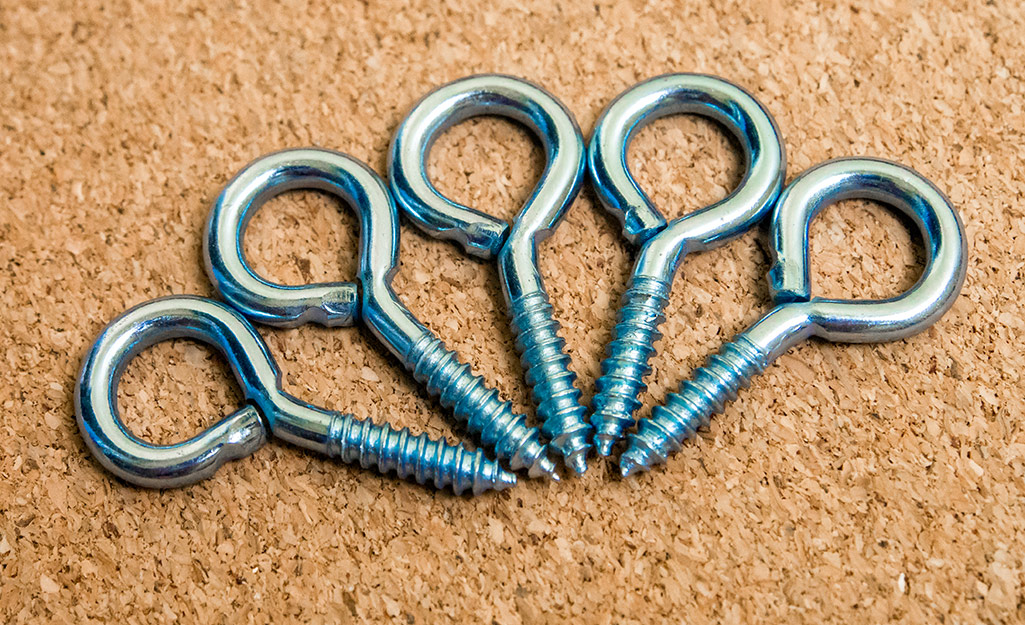
Measure and mark the center of each side of the finished frame. These marks are where eye screws will be fitted.
Drill 1/4-inch deep pilot holes at the marked areas.
Screw the eye screws into each pilot hole. Use pliers to secure them firmly.
Hang Your Bird Feeder
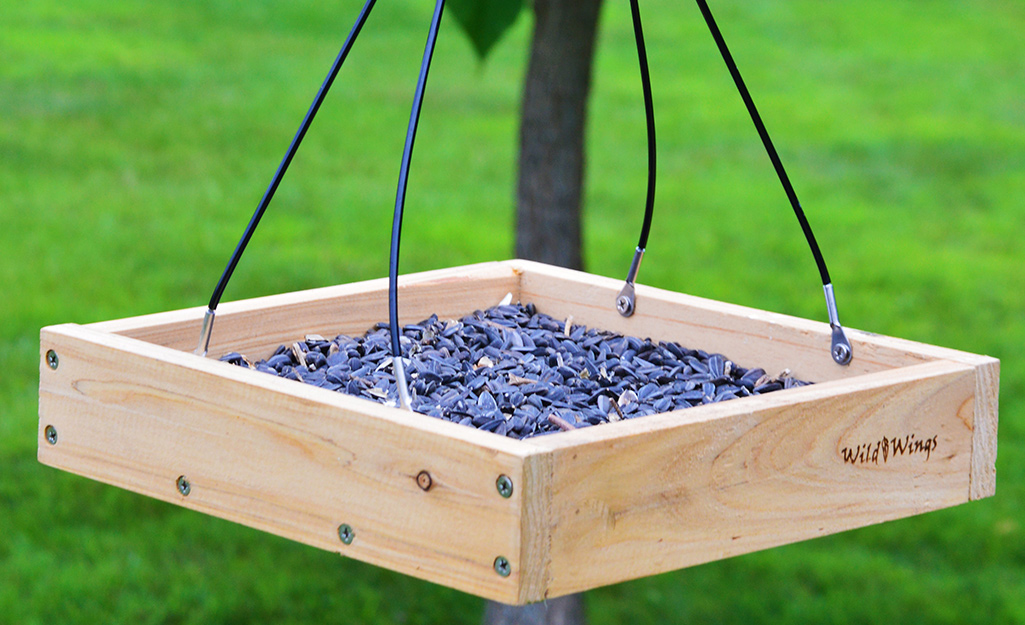
There are a variety of ways to hang a bird feeder filled with seed. Here are a few popular picks:
Use looped plastic cord going through each eye hook to hang the bird feeder.
Use twine by looping equal-length pieces of twine through each eye screw. Tie the twine together at the top to create a hanger that can go on a hook or nail. A dab of glue can reinforce the twine for long-term use.
Use lengths of chain instead of twine. Durable chain allows you to hang the bird feeder from only two of the eye hooks.
DIY Bird Feeder Stands
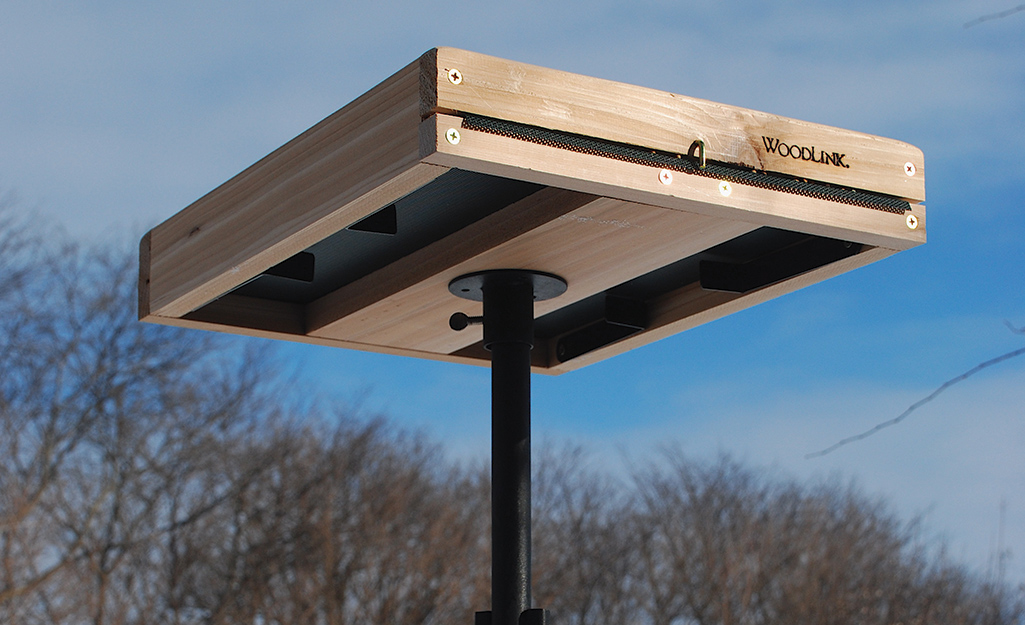
Building a bird feeder stand is an ideal alternative if there's no tree to hang your feeder on. Here's a simple way to build a DIY bird feeder stand:
Hammer a 7- to 10-foot copper or PVC pipe into the ground. Attach a "T" fitting at the top.
Source a secondary shorter piece of matching pipe to create an arm to hang the bird feeder on.
Drill a hole about 1 inch from the end of the designated arm piece.
Screw the arm piece into the "T" fitting. Hang the bird feeder from the arm using an S-hook.